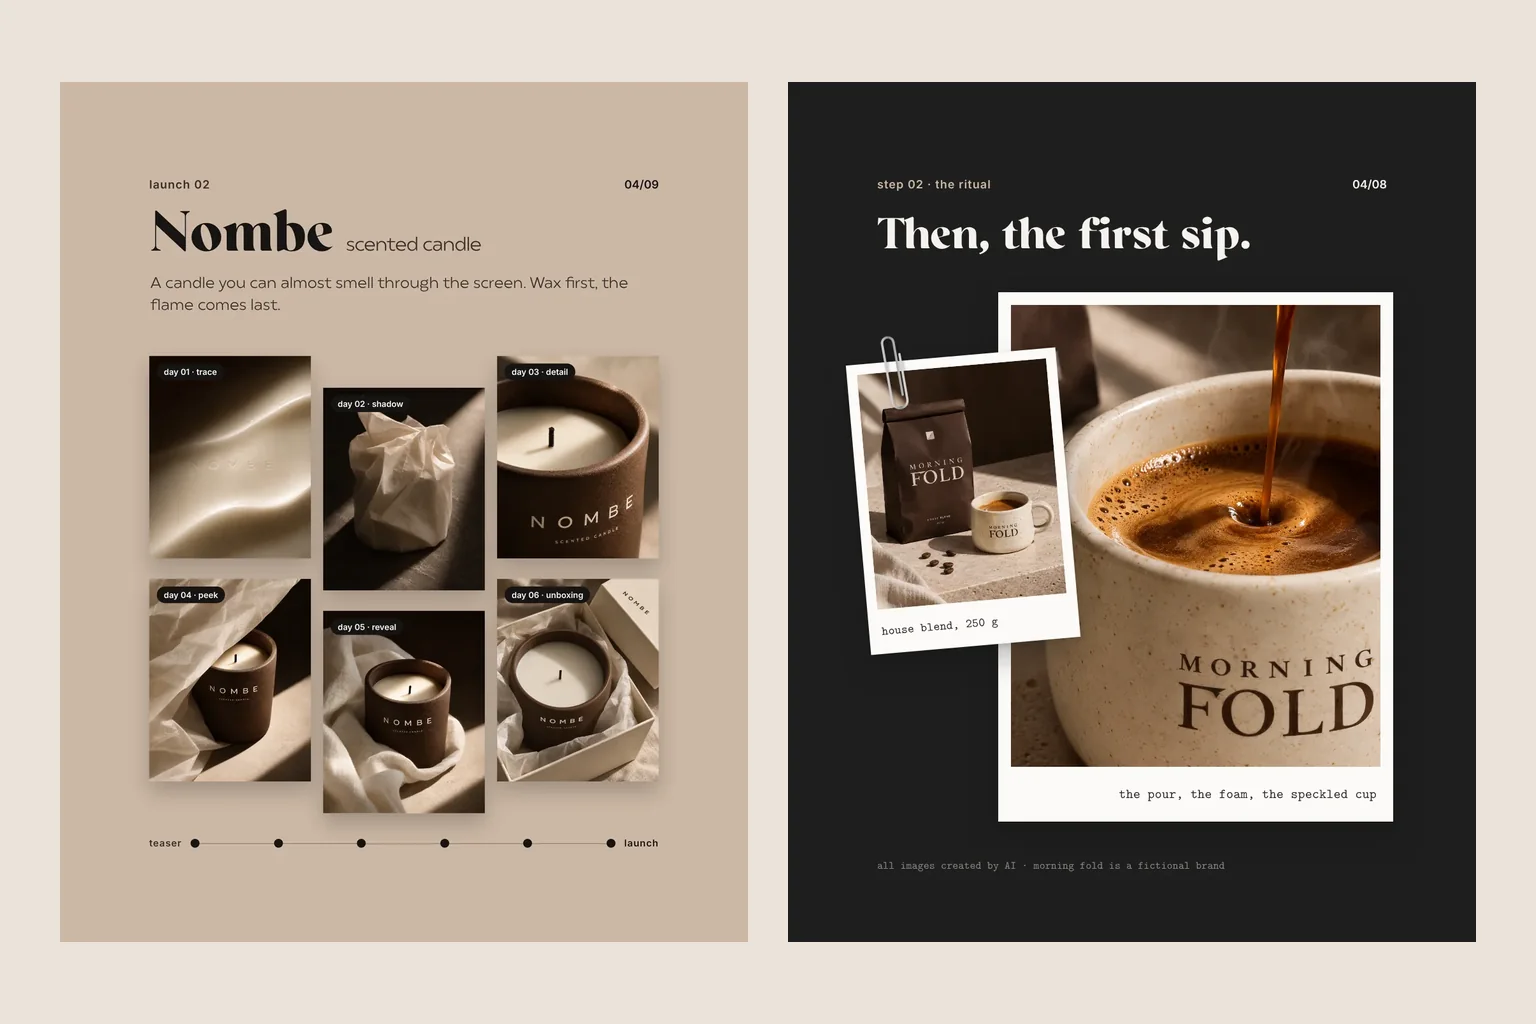
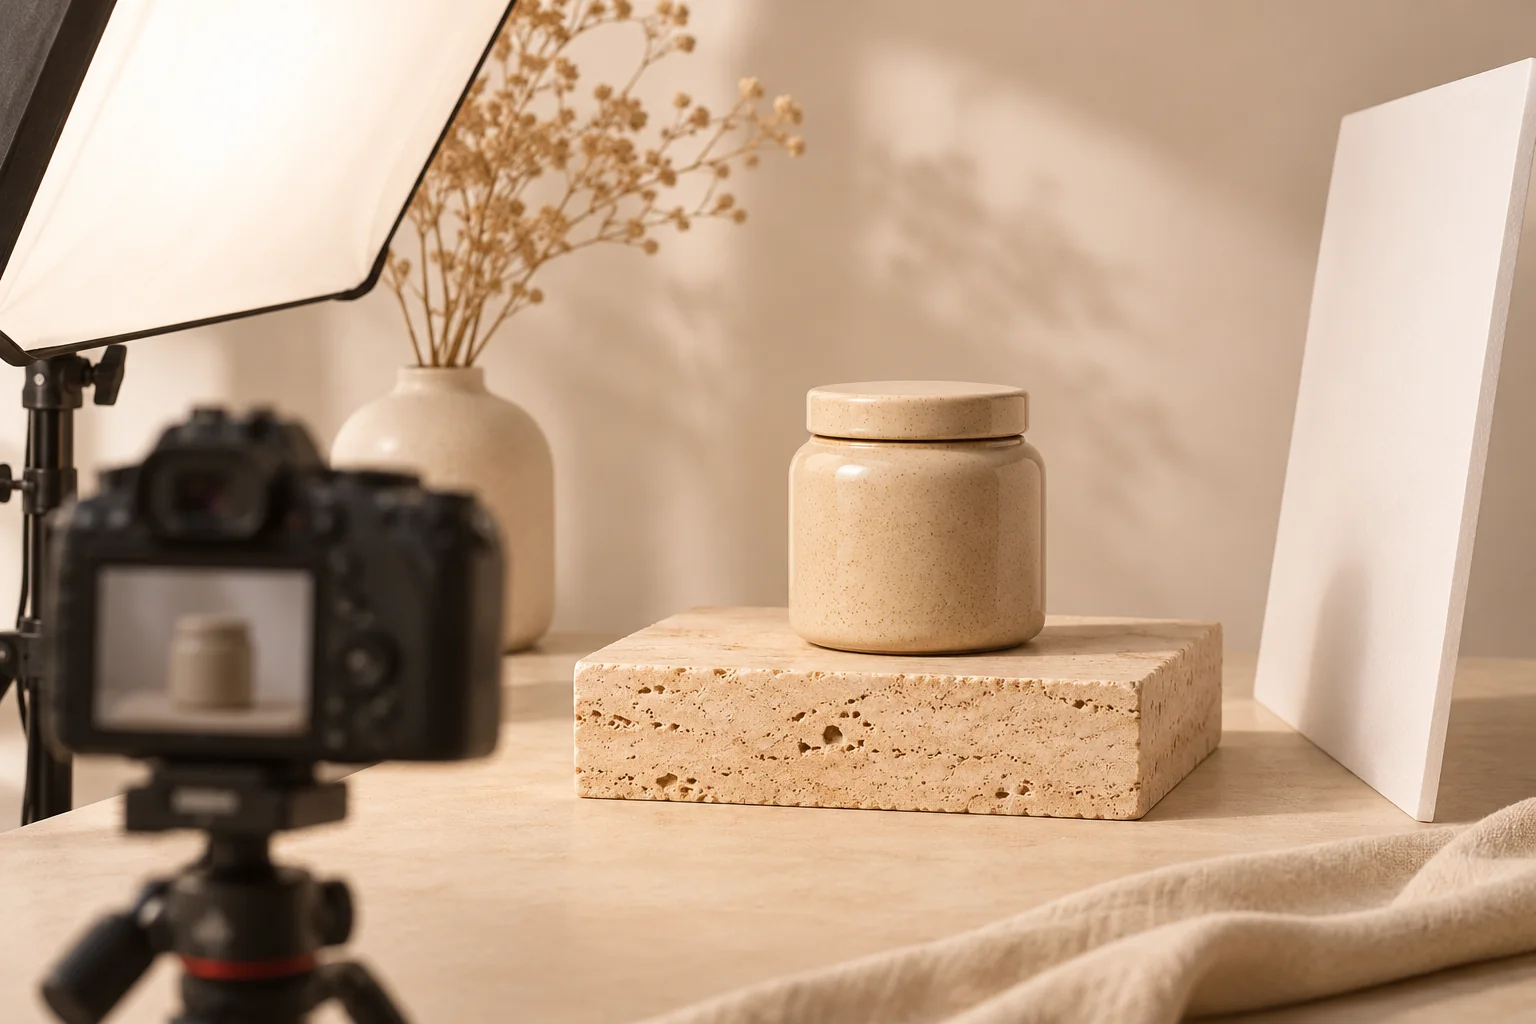
A pitch, a pre-sale or a meeting with a retailer, but no prototype yet? Here is how a sketch becomes a product shot and a product shot becomes a whole scene. With a brief to fill in.

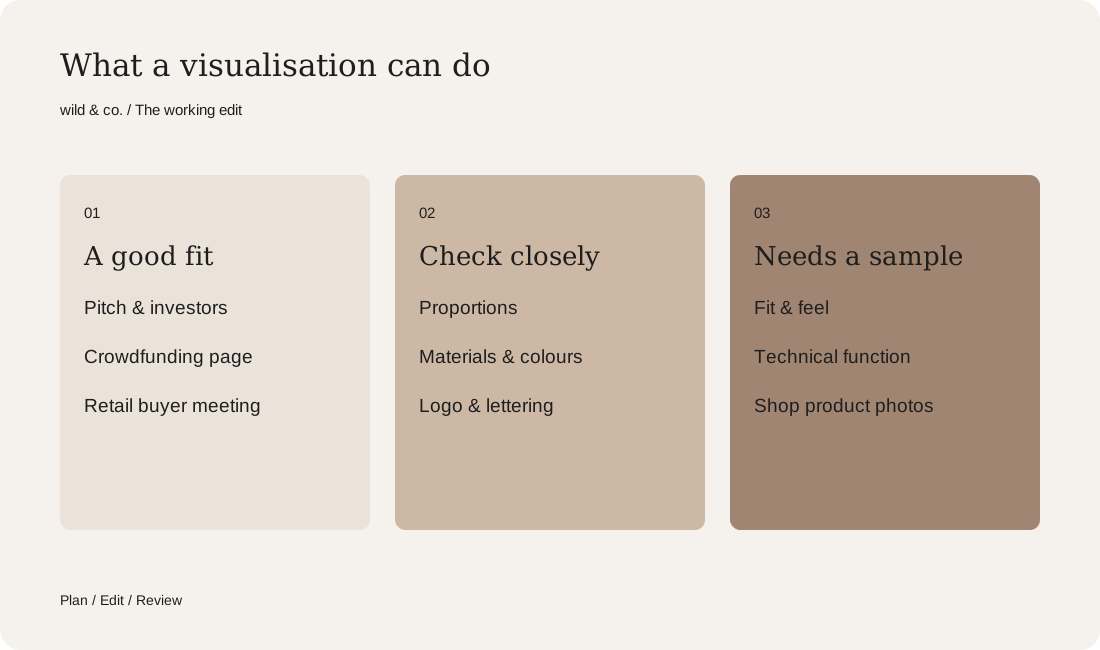
A product visualisation shows a product before it is built: first as a sketch, then as a clean product shot, then in a scene. It helps with pitches, pre-sales, crowdfunding and retail meetings. Proportions, materials and feasibility need checking, and people should be told plainly that they are looking at a visualisation. Fit, feel and shop images still call for real samples later on.
You have a sketch, a name and a meeting with a retail buyer next month. What you do not have is a prototype, let alone a sample you could photograph. Visualising the product closes that gap: from drawings, dimensions and notes on materials you get images that show what the product will look like once it is made. This guide is about products that do not exist yet. If your product is already on your desk and you want to place it in new scenes, our guide to AI product imagery is the better read.
What product visualisation actually means
A product visualisation shows an object before it has been built. For a long time that meant 3D modelling and rendering: someone rebuilds the product digitally, assigns materials and lighting and renders views from it. AI imagery has now joined the toolkit, turning sketches, descriptions and references into surprisingly realistic pictures. The two approaches complement each other. A 3D model is dimensionally accurate and can be turned in any direction. AI is quicker with moods, variants and settings, but looser with exact measurements. In many projects the model secures the shape and AI builds the world around it.
When a visualisation earns its keep
The point of a visualisation is to win a decision before money goes into tooling or samples. These are the moments where it pulls its weight:
- Pitches and investor meetings, where one image of the finished range explains what the funding is for.
- Pre-sales and waiting lists: people who sign up want to see what they are waiting for.
- Crowdfunding, where the cover image, the video and every reward tier need pictures long before production.
- Retail buyer meetings, to show how the range would look on a shelf or in an online shop.
- Internal choices: which colourway, which material and which variant go into the first run.
- A shared picture for manufacturers and photographers, so everyone imagines the same object.
Your visualisation brief
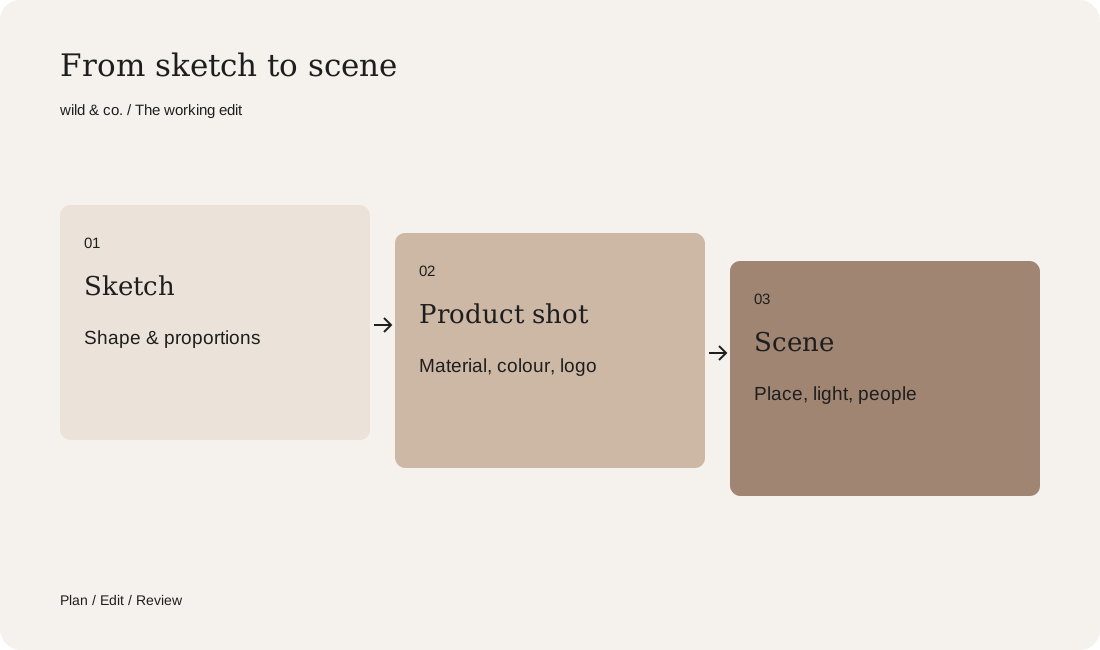
Three stages, from chalk sketch to pool club
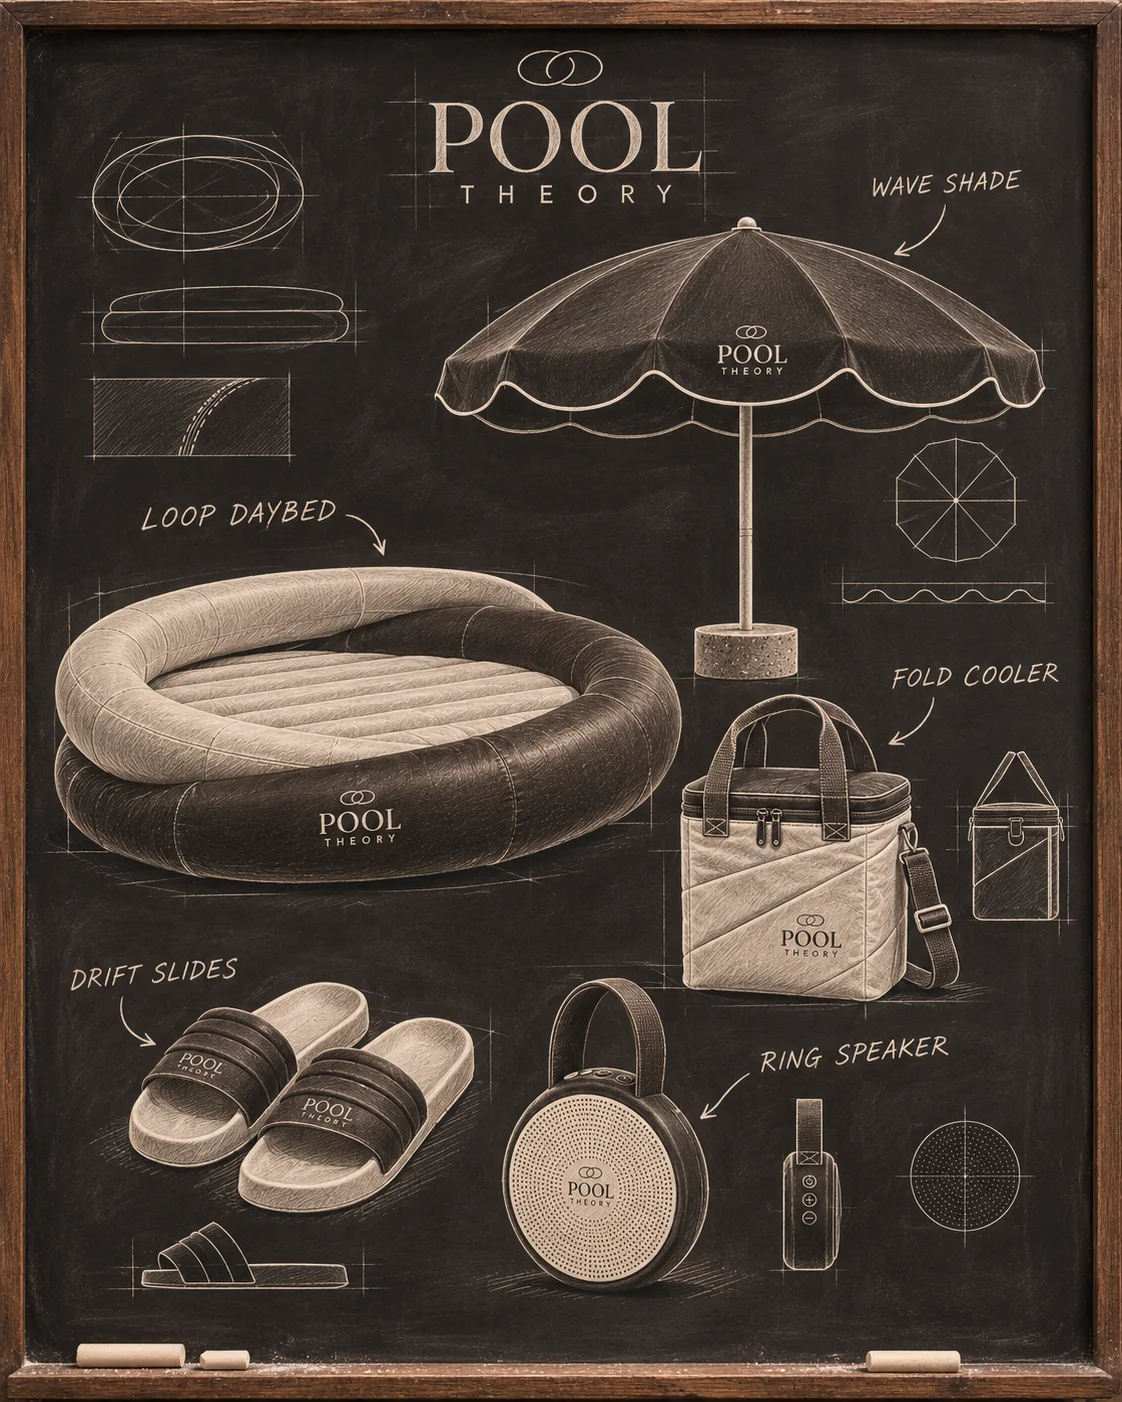
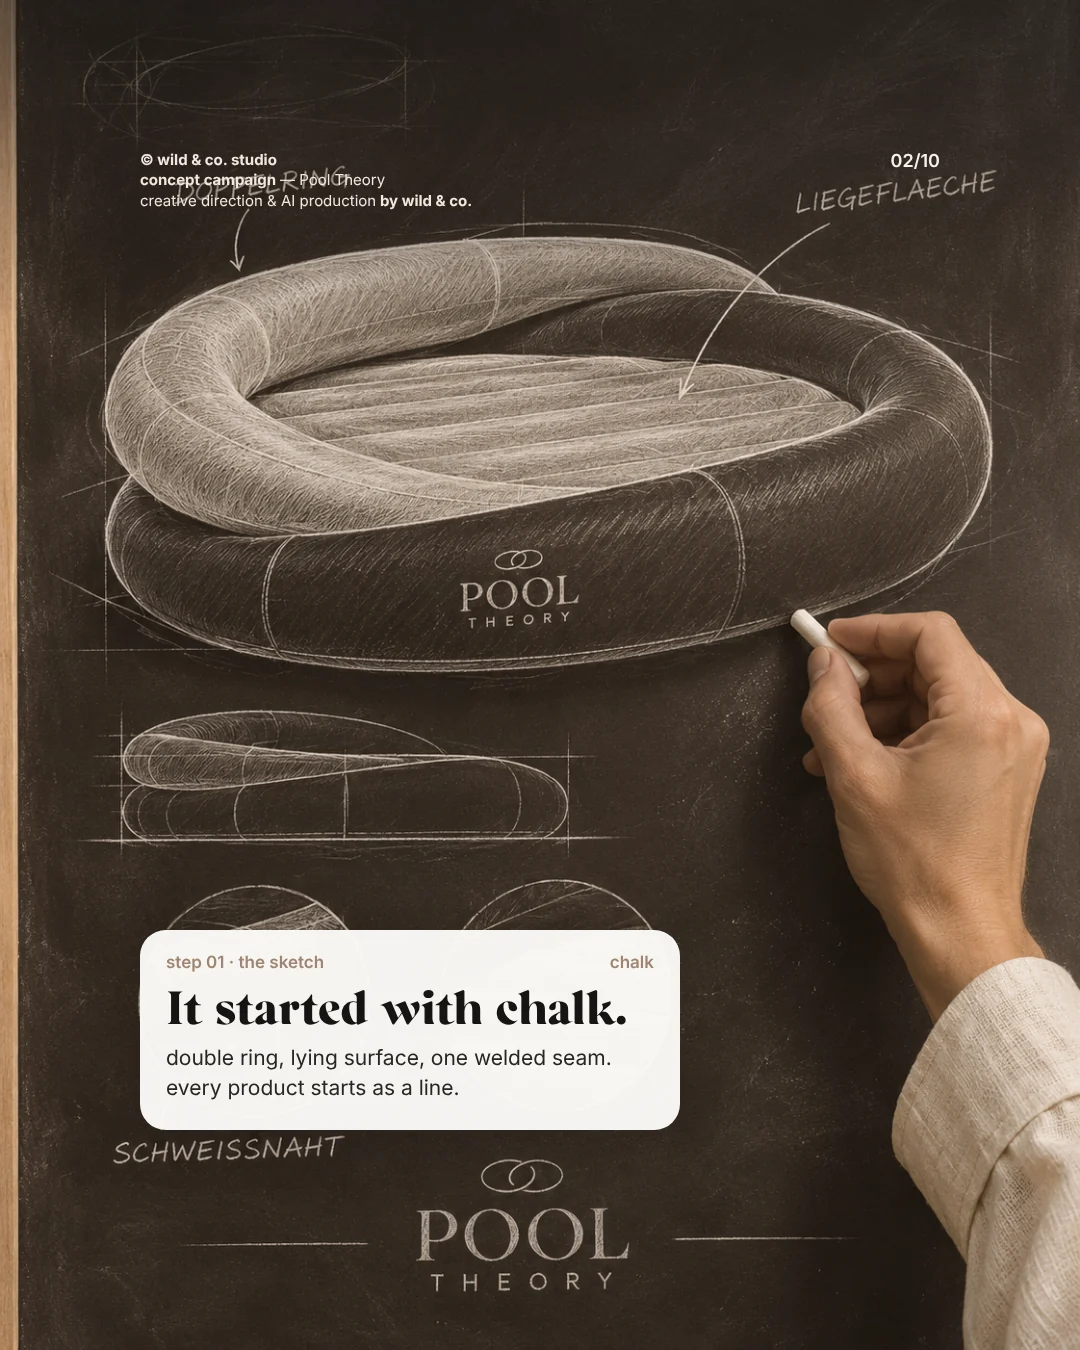
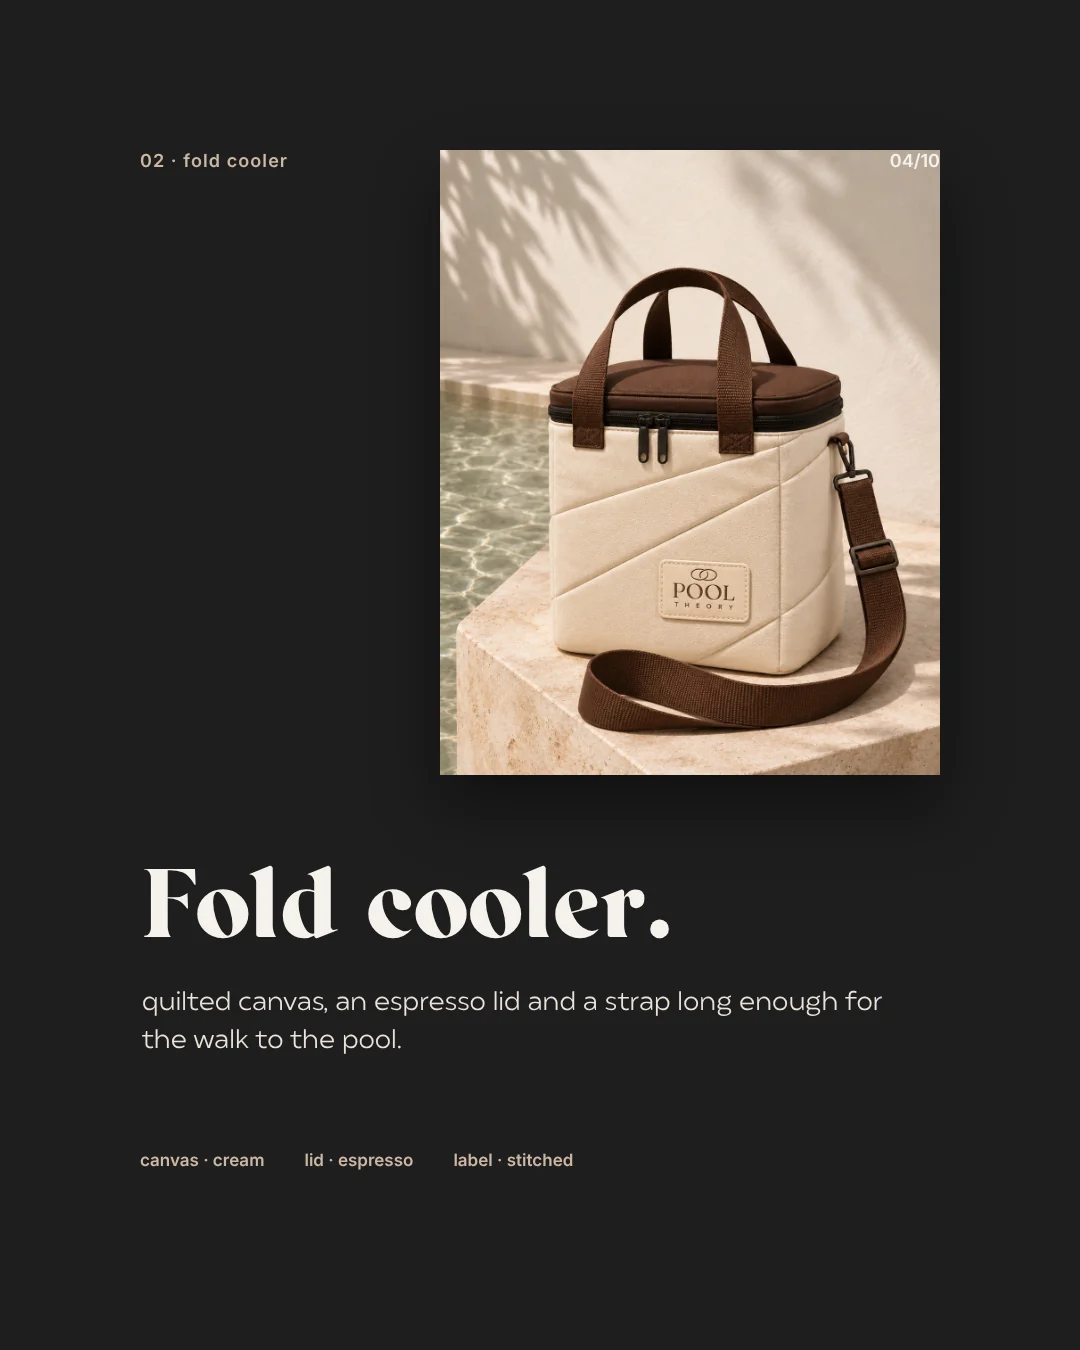
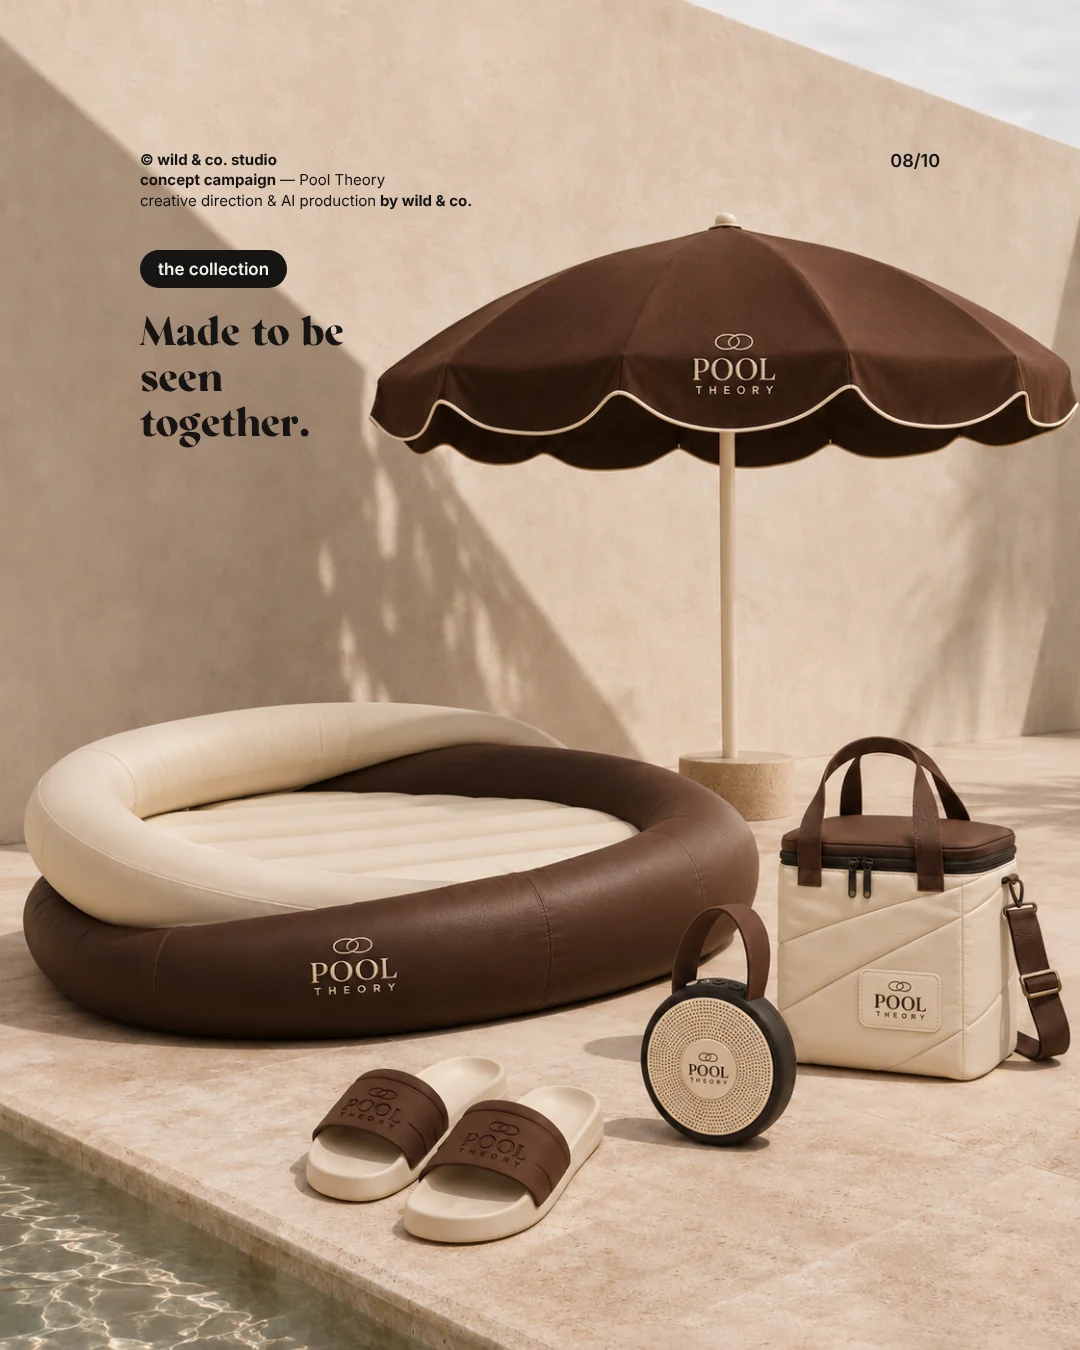
Our invented brand Pool Theory shows how this works in practice. It is a fictional pool-club collection: a loop daybed, a parasol with a scalloped edge, a cooler bag, a pair of slides and a round speaker. None of it exists. Every image was made with AI and art-directed by us, and the route translates to almost any product:
- The sketch: shape, proportions and details are settled first. For Pool Theory that was a chalk drawing of the whole range on a blackboard.
- The product shot: each piece on its own, on a calm background, with the right material, the right colour and the logo where it belongs.
- The scene: the products in the place they will be used, here by the pool, with sunlight, shadow and people.
Resist the urge to skip ahead. Starting with the lifestyle scene usually produces lovely images in which the product changes slightly every time. Once the single product shot is right, the scene has something reliable to build on.
What to bring to the first meeting
You do not need to draw well. You do need to be specific, because anything left open will be guessed, and guesses rarely match the picture in your head:
- A sketch, a photo of a handmade mock-up or technical drawings, however rough.
- Dimensions, or at least scale compared with a hand, a table or a person.
- Materials and finishes: matt or glossy, soft or rigid, fabric, metal, wood or plastic.
- Colours, ideally as colour values or physical swatches.
- Your logo and lettering, and exactly where they sit on the product.
- Mood references: places, light, audience and the overall look of the brand.
- Where the images will be used: pitch deck, crowdfunding page, shop preview or buyer meeting.
Showing a whole collection, not a pile of products
A range is harder than a single item, because every image has to look as if it belongs to the same family. Pool Theory relies on a handful of rules: two main colours, chocolate brown and ecru; soft, rounded shapes; travertine underfoot; and a small double-ring logo that always sits somewhere clearly visible. That is why the five products read as one brand in the group shot by the pool rather than as five things that happened to be lying around.
Write rules like these down before the first image is made. They keep the visualisations consistent, and later they help the factory and the photographer when the real samples arrive.

Checking proportions, materials and feasibility
A picture can show things nobody could manufacture. So every visualisation deserves a critical look, ideally with someone from product development or production in the room:
- Is the scale right? A speaker that suddenly looks twice the size next to the cooler sets the wrong expectation.
- Can this material be produced with this seam, this surface and this sheen?
- Is the logo somewhere it can actually be printed, embroidered or embossed?
- Would clasps, handles and hinges work the way they appear to?
- Can the colour be achieved in the chosen material at all?
Feed whatever you find back into the sketch. That way the visualisation becomes a development tool rather than a promise nobody can keep.
Be honest that it is a visualisation
As soon as money changes hands, through pre-orders or crowdfunding, people need to know what they are looking at. Say clearly that an image is a visualisation and that details may change before production. Many crowdfunding platforms have their own rules on how prototypes and renderings may be presented, so read them before you set up the campaign. With investors and buyers, too, being open about where the product stands comes across as more professional than polish alone. A strong image does not replace a prototype, but it does show that you know exactly where you are heading.
When real samples take over
Fit, feel, weight and technical function need a physical sample. Nobody stays happy with a bag whose strap only holds in a picture. When the first samples arrive, compare them with the visualisations: where does the real product differ, and which images need replacing as a result? For the shop, product sheets and anything customers inspect closely before buying, real product photography takes over. The visualisations still have a life afterwards, as mood images, for settings that are hard to photograph, or for variants that will only be produced later.
Try it yourself or have it visualised?
For a first idea or an image for an internal discussion, common AI tools and some patience are enough. It gets demanding when the product has to look identical in every image, when a whole range must hang together and when the pictures need to work in a pitch deck, on a crowdfunding page and on social media. Use the brief above to collect what any studio will need from you. At wild & co. in Zurich we create AI imagery and whole product worlds for brands across Switzerland and beyond, in person or remotely.