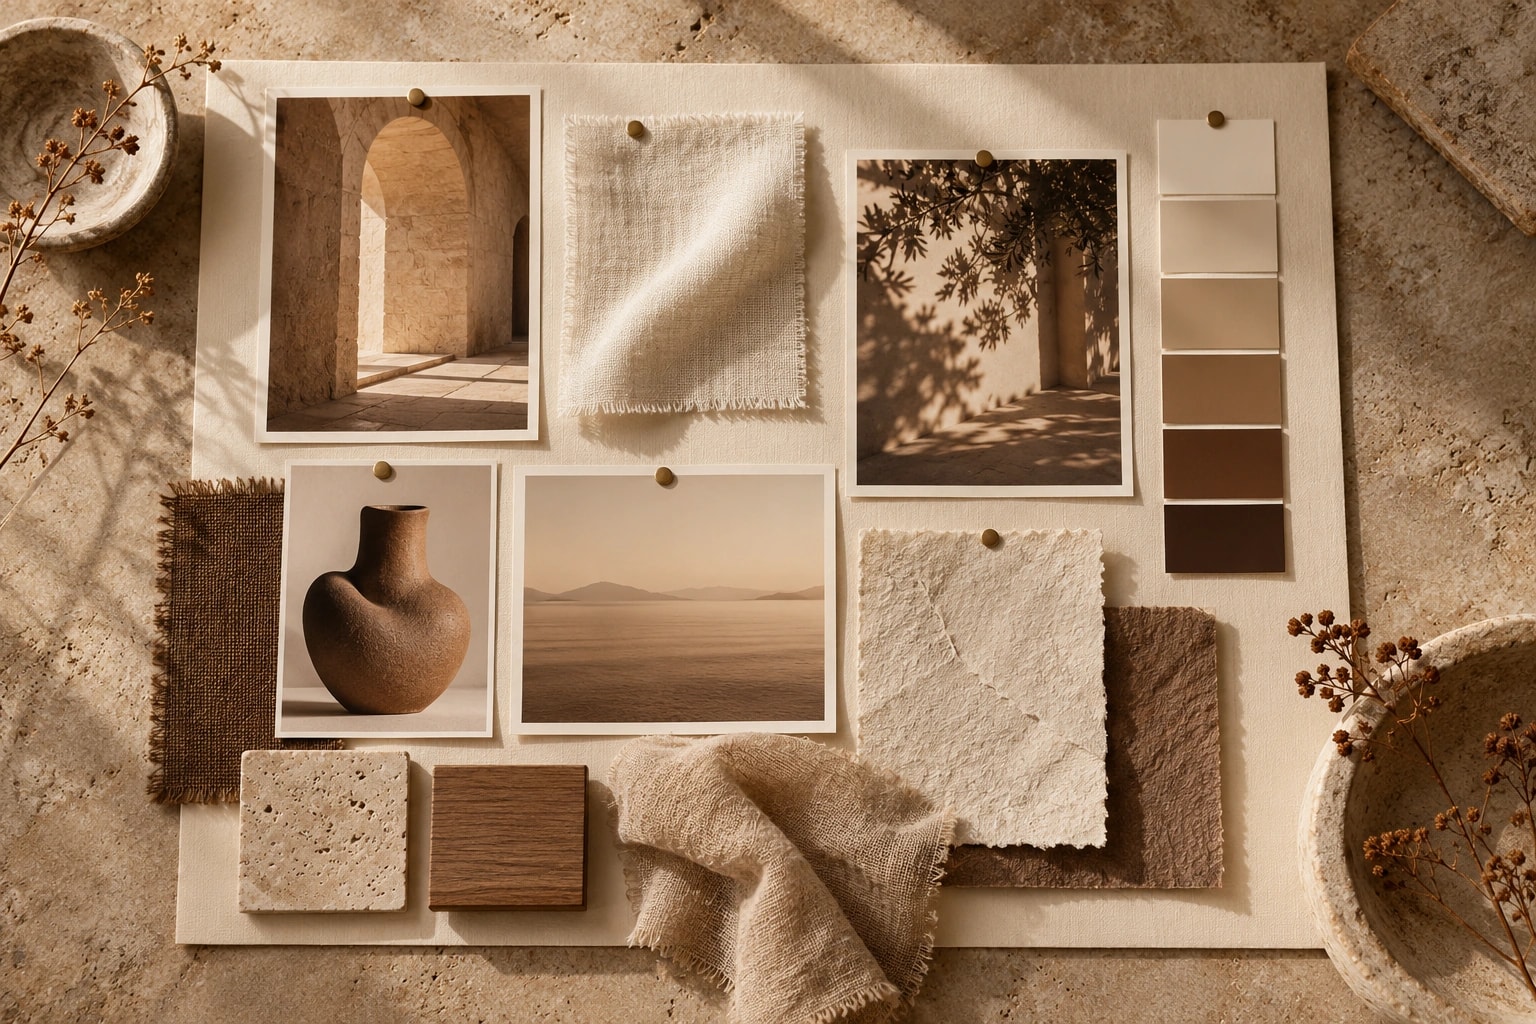
Cut-outs, details, styled scenes or products in use? Here is which product photos you need for your shop, website and social media, and how to prepare a shoot well.
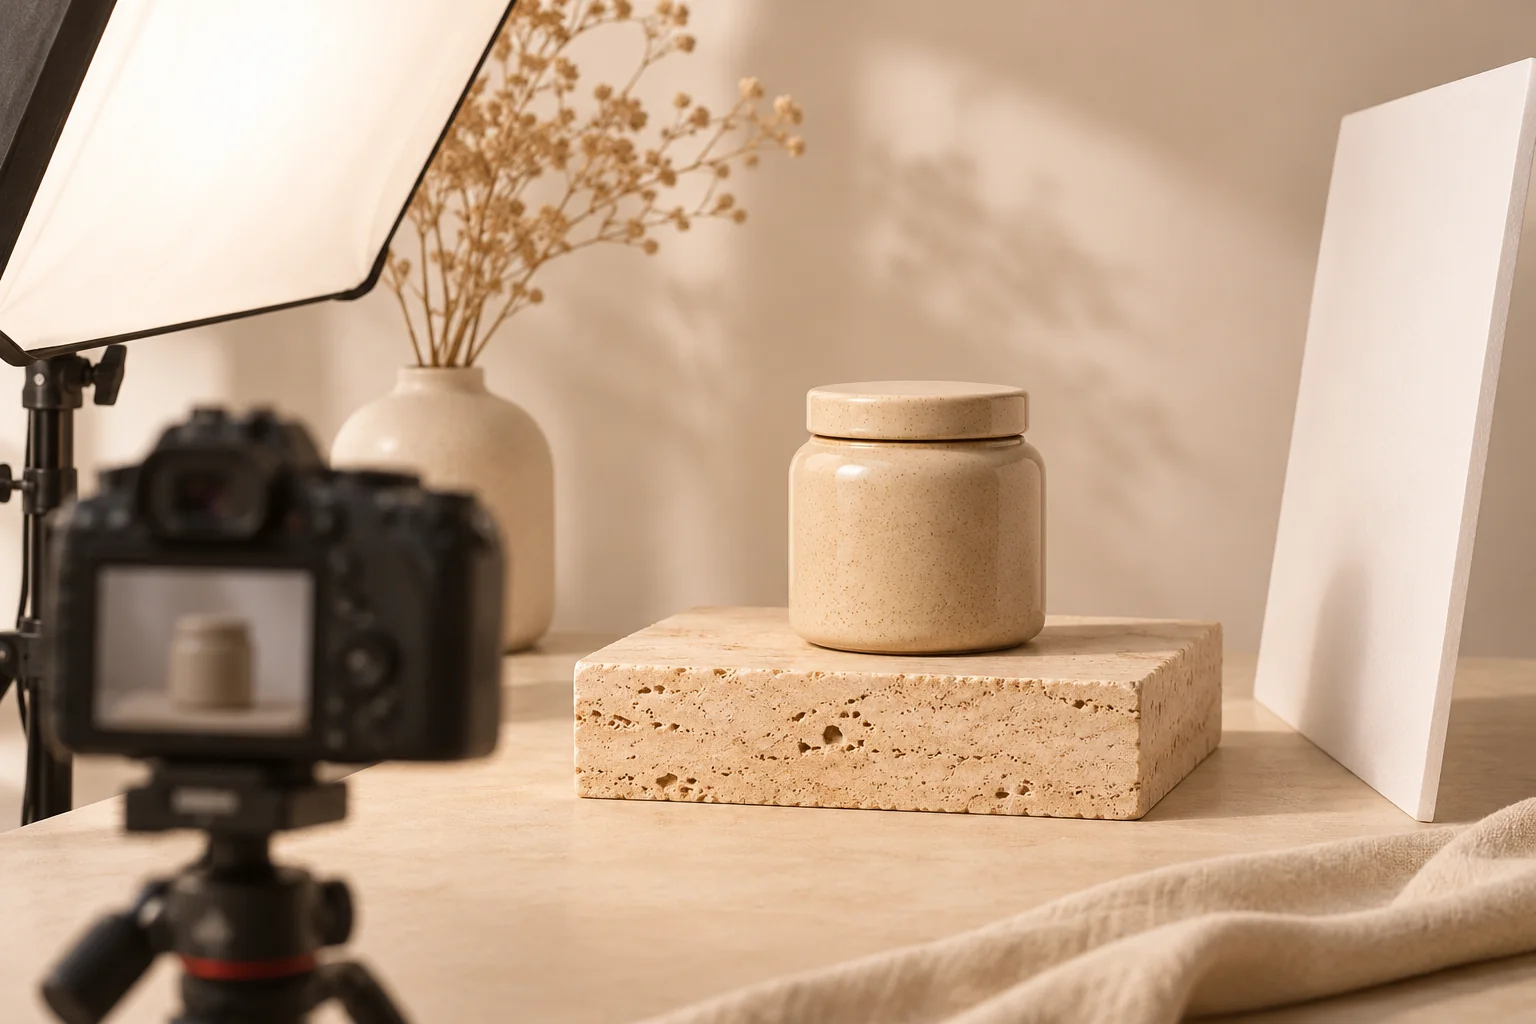
Good product photography starts with where the images will be used. Plan a mix of cut-outs, details and styled scenes, keep light and crops consistent across all products, and agree usage rights before the shoot.
In a shop, people pick a product up, turn it round and feel the surface. Online, photographs take over that job. They show how big something is, what it is made of and how it fits into everyday life. They also say a great deal about your brand before anyone reads a sentence. So product photography deserves to be planned like any other project, rather than squeezed in at the end.
What will the product photos be used for?
Before you think about light and backgrounds, write down where the images will end up. An online shop needs several clear views per product in the same format. A website home page needs a few strong images with room for text. Social media wants portrait formats and variety. A marketplace or retailer will have its own rules for background and size. The sooner you know this, the fewer images you will have to crop awkwardly or reshoot later.
The main types of product photo
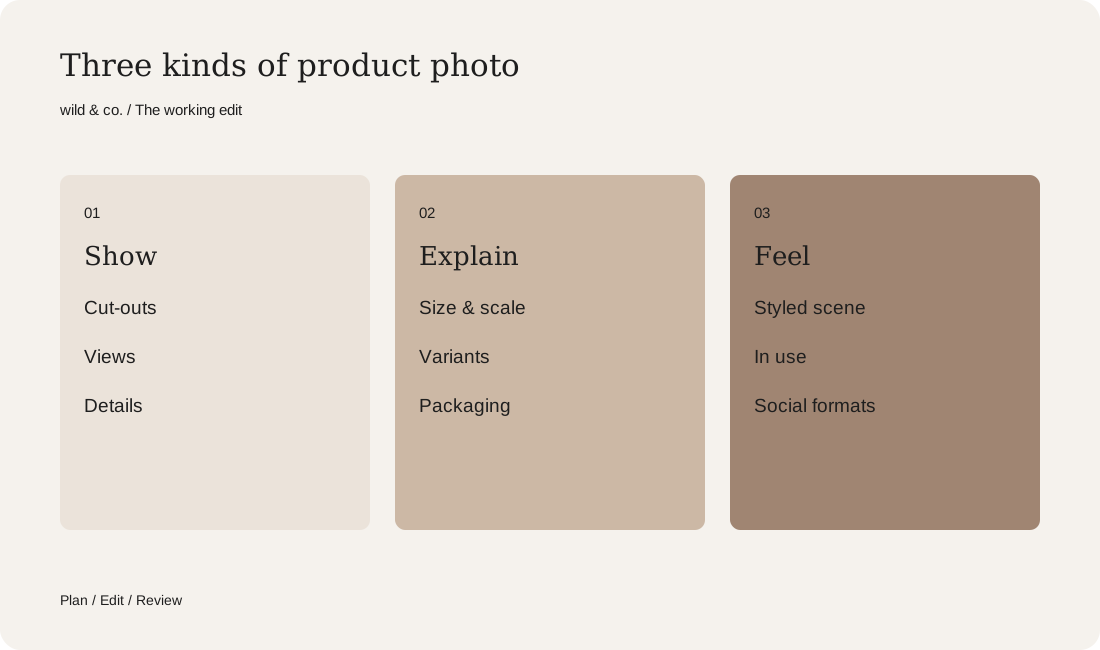
Almost every product benefits from a mix. These types cover most needs:
- Cut-out or packshot: the product alone on a neutral background, for shops and catalogues.
- Views: front, back, side, open and closed, so nothing comes as a surprise.
- Details: material, stitching, fastening, label, anything that shows quality.
- Size and scale: the product beside a hand or a familiar object.
- Styled scene: the product in a composed setting that suits your brand.
- In use: the product at work, so people can imagine how it feels.
Visual style: light, background and mood
Consistent product photos look calm and professional, even when they were taken on different days. Set a few rules. What kind of light, bright and soft or with defined shadows? Which background for cut-outs, which materials and colours for scenes? From which angle and at what distance do you shoot? These choices belong to your brand's visual language and ideally to your style guide. Our guide to having a corporate design created explains how imagery fits into the wider system.
Planning a product shoot: the shot list
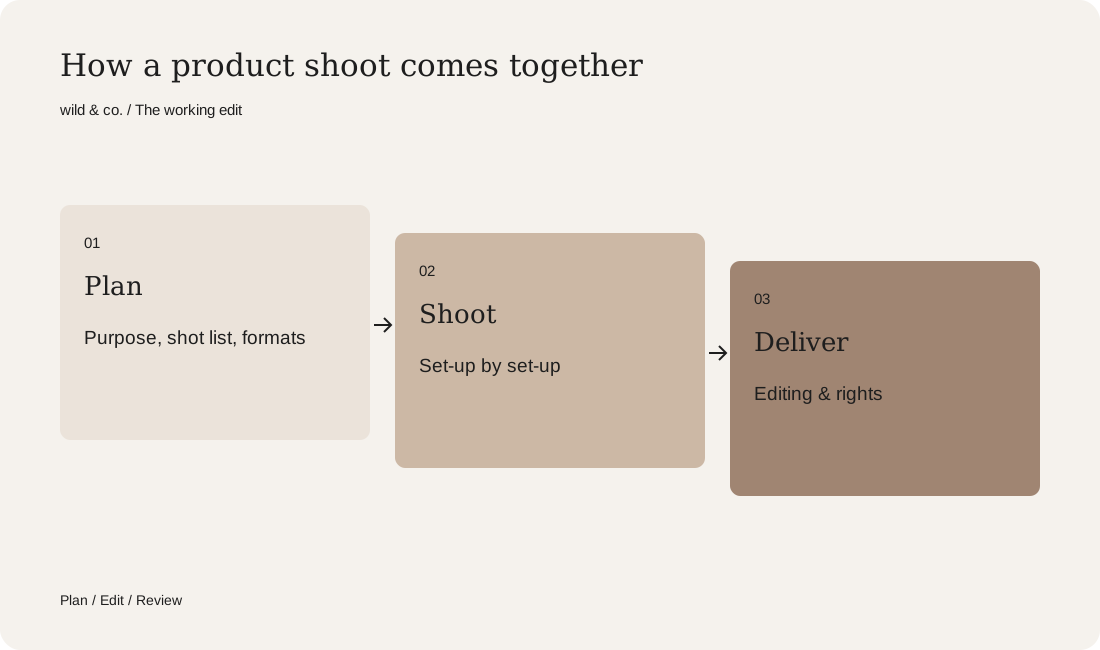
A shot list is the list of every image that must be captured by the end of the day. For each product, note the views, details and scenes you need, in which format and for what purpose. Add props, variants such as colours or sizes, and everything that needs preparing beforehand: labels straight, packaging free of scratches, samples complete. Sort the list by set-up rather than by product. Shooting all the cut-outs in a row saves a lot of time because light and camera stay the same.
Shoot it yourself or hire a product photographer?
For simple cut-outs and quick social posts, daylight, a calm background, a tripod and your phone take you surprisingly far. It becomes harder with shiny surfaces, glass, jewellery or very small products, with large ranges that must look exactly alike, and with styled images that need to carry your brand. A sensible middle way is to have the visual style and the key images made professionally, then shoot simple additions yourself later using the same rules.
Adding AI to your product photos?
AI tools can extend backgrounds, suggest scenes for mood images or place a cut-out product in a new setting. That is useful for variations and social media. For anything customers rely on when buying, accuracy comes first: colour, shape, size and details must match the real product. We explain where the line sits, and what to check regarding rights, in AI images for businesses.
Your product shot list
Formats, editing and usage rights
Agree before the shoot what you will receive. These points belong in every agreement, whether you work with a photo studio or an agency:
- Formats: landscape, portrait, square and the dimensions of your shop or marketplace.
- Editing: colour correction, retouching, cut-outs and how many images per product.
- Files: high-resolution originals and versions optimised for the web.
- File names: clear, with the product name, so you can find them again.
- Usage rights: which channels, countries and for how long, including advertising.
- Future additions: how new products can join later in the same style.
At wild & co. in Zurich we plan product photography together with your brand's visual language, so your shop, website and social channels belong together. You will find more under Photo & Video. Use the shot list above to prepare your next shoot, whether with us or someone else.